![]()
User Access Tab
User Access Tab Overview
On the User Access tab you can manage the roles for your Dashboard and add Users to the Dashboard.
On the left side of this tab you can see the Roles.
You can see the total number of Roles in your Dashboard to the right of the Roles heading.
You can search through roles by keyword using the search bar.
The Roles will be listed in the box under the search bar.
Clicking on a Role will display the Users within that Role on the right side of the tab.
One this side of the tab you can see the total number of users in the selected Role to the right of the Users heading.
You can use the search bar under the Users heading to search through Users by keyword.
The Users associated with the selected Role will be displayed in the box under the search bar.
User Access Tab.

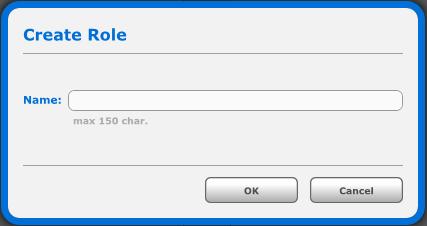
Clicking on the Create Role button will allow you to create a Role.
Enter the name of the Role in the Name field.
Create Role Dialogue Box.
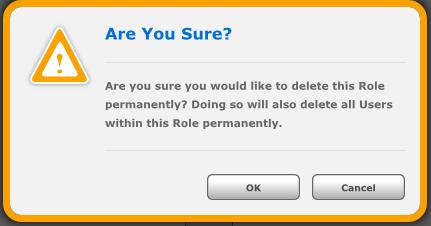
Clicking the Delete Role button will allow you to Delete Roles.
You will receive an Are You Sure? warning message.
Click OK if you are sure.
Click Cancel if you are not sure.
Delete Role Warning Message.
Clicking on the Create User button will allow you to add a user that is within an Active Directory group to the Omega Dashboard users list.
You can use the Select User Type drop down menu to choose the user type.
Enter the user name in the User Name field and click on the check mark to validate that the User is within an Active Directory group and not already registered with the Dashboard.
For Administrators, Designers and Standard users, the User Name must be a valid user in Active Directory. If you are creating a Shared User, the name is for display purposes only and does not need to be a valid Active Directory user name.
Click the Is User Active check box will allow the user to login.
The Set Default Briefing Book drop down menu will allow you to choose the Default Briefing Book the user will see upon logging in to the Omega Dashboard.
Create User Dialogue Box.

Clicking on the Edit User button will allow you to edit a user.
You can change the user type using the Select User Type drop down menu.
You can change the User Name, however this will need to be another user in an Active Directory group. You will have to validate the new user by clicking the check mark.
You can change a user to being not active, which will prohibit them from logging in.
You can also change the default Briefing Book by using the Set Default Briefing Book drop down menu.
Edit User Dialogue Box.

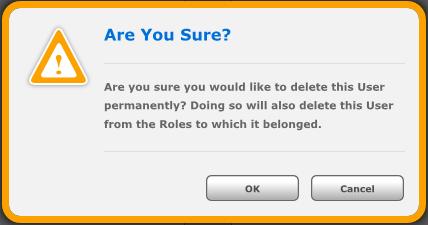
Deleting Users
You can delete a user by clicking on the user and then clicking on the Delete User button.
An Are You Sure? warning message will pop up.
Click OK if you are sure you would like to delete the user.
Click Cancel if you are not sure you would like to delete the user.
Delete user Warning message.
Related Links:
© Copyright 2011 The Omega Group. All Rights Reserved.