![]()
Managing Roles
Roles Overview
A Role is assigned to content, maps and/or data.
A Role collects Users into groups in order to assign permissions for accessing information in the Omega Dashboard.
Roles manage what users can see in the Dashboard.
How do Roles work?
Administrators are responsible for creating Roles for the application.
Only Administrators can modify or delete existing Roles.
You can assign Briefing Books, QOD Groups, Alert Groups, Query Layers, Geography Layers, Operational Layers and Base Map Layers to Roles.
Roles List
The Roles in the Omega Dashboard can be viewed on the right side of the Users and Roles tab.
You can see the total number of Roles to the right of the Roles header.
You can search through Roles by keyword using the search bar.
The Roles will be listed in the box below the search bar.
The Roles side of the Users and Roles tab.

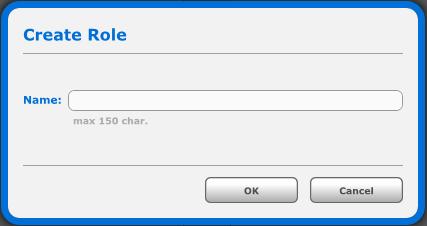
Clicking on the Create Role button will bring up the Create Role dialogue box.
You can enter a name for the Role in the Name field.
You can use the Filter By drop down to filter the list of available items to add to the Role.
You Select All or Deselect all with the buttons along the bottom.
Click OK to Create the Role or Cancel to not create the Role.
Create Role Dialogue Box
Delete Role Dialogue Box
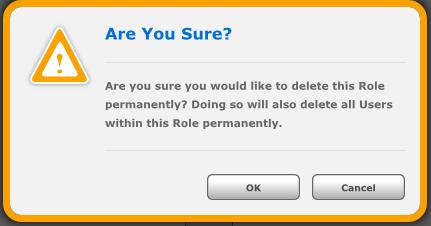
Clicking on a Role, and then clicking on the Delete Role button will allow you to delete the Role from the Omega Dashboard.
An Are You Sure? warning message will pop up.
Click OK if you are sure you want to delete the Role.
Click Cancel if you are not sure you would like to delete the Role.
Delete a Role Dialogue Box
Related Links:
© Copyright 2011 The Omega Group. All Rights Reserved.