Managing Users
Users Overview
Users are the accounts that are set up to access the application.
Each User is assigned to specific components of the application by the Administrator.
When a User account is created, that User may log into and access the features of the application for which they have permission.
There are four user types in the Omega Dashboard, Administrator, Designer, Shared and Standard (Note: not all agency's will have all user types available to them. This depends upon your Dashboard's configuration.)
User Types are used to control what a user can do in the Dashboard.
Methods of User Creation
There are two methods of user creation: Manual and Self-Registration
When utilizing Manual user creation, an Administrator manually creates Users on the User Access tab in Designer Mode.
When utilizing Self-Registration, End-Users sign themselves up for the Dashboard and a Dashboard Administrator Approves or Denies access.
Users List
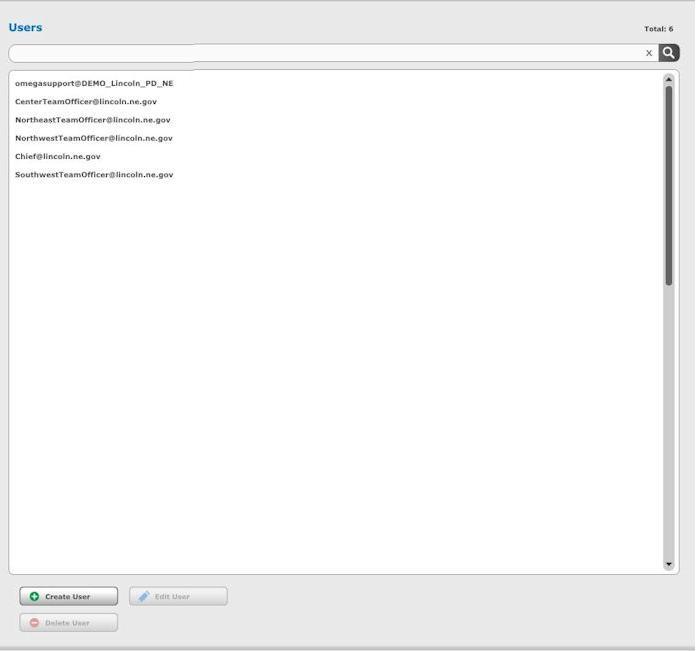
The right side of the Users Access tab is where you will find information on Users.
You can see the total number of users within that Role to the right of the Users heading.
You can search through Users by keyword using the search bar.
The list of users will appear in the box underneath the search bar.
You can see the Username, Account/Email and User Type. These columns are sortable.
You can Create, Edit or Delete users using the buttons towards the bottom of the tab, under the Users list box.
The Users side of the Users and Roles tab.
Clicking on the Create User button will bring up the Create User wizard.
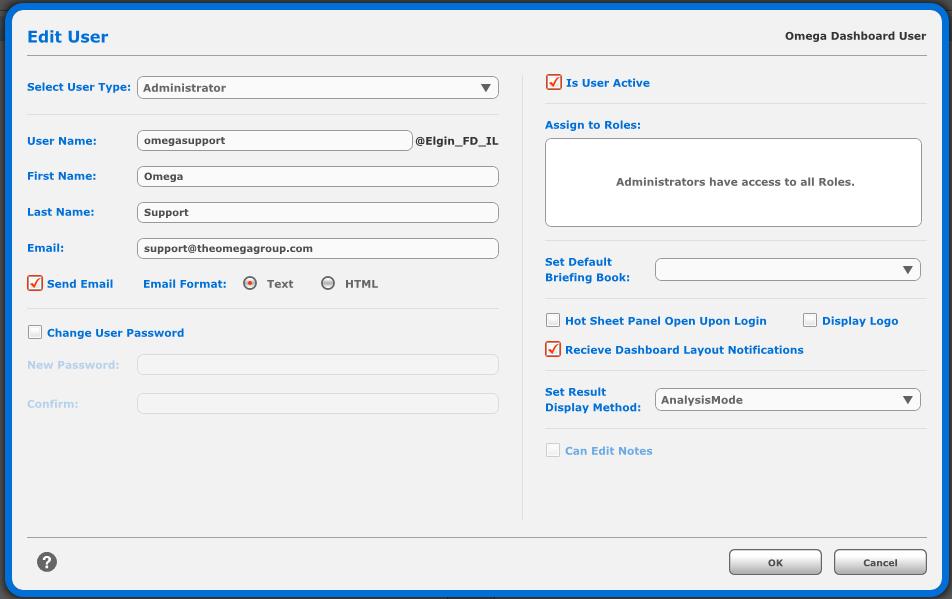
You can select the User Type from the Select User Type drop down menu.
Enter the name of the user in the User Name field.
Enter a first name for the user in the First Name field.
Enter a last name for the user in the Last Name field.
Enter an email address for the user in the Email field.
The Email Format button allows you to choose to send HTML emails or plain Text emails.
The Is User Active check box will allow the user to login to the Dashboard. Unchecking this will not allow them to login.
You can use the Assign to Roles box to assign the user to Roles. Use the check boxes next to each Role to assign the user to that Role.
You can use the Set Default Briefing Book drop down to choose the Briefing Book the user will see upon logging in to the Dashboard.
The Check box next to Hot Sheet Panel Open Upon Login will allow you to have the Hot Sheets panel open upon login for the user. This can also be changed from the Change Settings dialogue box.
The Display Logo check box will allow you to choose whether to display the ESRI and Bing logos on maps.
The Set Result Display Method drop down menu will allow you to choose the Result Display Method for the user. Click here to read about the different Result Display Methods.
The User can Save/Publish Notes & Missions check box will allow you to specify whether the user can Edit Spatial Notes created by other users.
Create User Dialogue Box.
If your site supports Self-Registration the Create An Account button will be on the Login screen under the Username and Password boxes.
Here is where the End-Users will fill out their information to Self-Register.
The Administrator will then be sent an email when someone registers and can approve or deny the user's access.
Self-Registration Dialogue
Clicking on the Edit User button will open the Edit User Wizard.
You can edit any details about the User you set up on the Create User wizard.
All of your options are identical to the Create User wizard.
You are able to reset a users password on the Edit User wizard. They will then get an email with a temporary password.
Edit User Dialogue Box.
Clicking on the Delete User button will allow you to delete a user.
First click on the User you wish to delete, then click on the Delete User button.
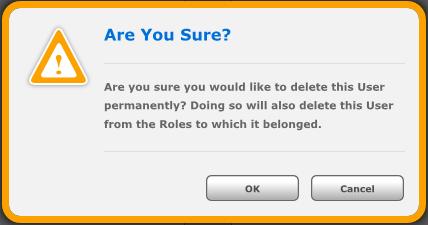
An Are You Sure? warning message will pop up.
Click OK if you are sure you would like to delete the User.
Click Cancel if you are not sure you would like to delete the User.
Delete User Are You Sure? Warning.
Related Links:


